Posted on

Vegetables and Herbs to Grow in Spring in Australia

Vegetables and Herbs to Grow in Spring in Australia

In August you may notice the days getting longer and the ground is just a little warmer. It’s a sign that spring is not too far off and it’s time to start planning what vegetables and herbs to grow.

The warm weather and longer days gives us many options of vegetables and herbs to grow in spring. However, it’s important to plan so you can grow your seedlings while the weather is just warm enough and they can thrive before it gets too hot.

As Australia’s climate is quite diverse it’s essential to consider the climate where you live to know what vegetables and herbs to grow and when to plant.

We’ve listed some general suggestions below for warmer and cooler regions in Australia. However, you may also want to research specific advice for your unique microclimate.

What to grow in warmer regions

In warmer regions that don’t experience frosts or have frosts only occasionally you should be able to grow most vegetables and herbs below.

Suggested Vegetables

Suggested Herbs

What to grow in cooler regions

In cooler regions where temperatures may stay low for longer periods of time we suggest the vegetables and herbs below.

Suggested Vegetables

Suggested Herbs

Other Tips

Support climbing plants with stakes. Many summer vegetables grow tall and require support, such as tomatoes and cucumbers. This helps to avoid pests and diseases by keeping its leaves away from the soil and also allowing for better air circulation. Check out our other blog post to learn 4 simple ways to support tomato plants.

Sow seeds early indoors or in a greenhouse. In cooler regions you can extend your harvest sowing seeds in seed trays and growing your seedlings in a greenhouse or indoors even before spring starts. You can then transplant them to your veggie patch once the soil is warm enough.

Remember to water more frequently. How much you should water will depend on rainfall, humidity, and what you’re growing. But it’s especially important to water more frequently during warmer weather as the soil dries faster and some plants, such as tomatoes, can be very sensitive to inconsistent watering. In very hot weather, you may need to water daily, preferably in the morning.

Protect your plants from excessive heat. During very hot days it can be helpful to provide some shade for sensitive plants. You can provide shade by planting them strategically in an area that is naturally protected during the middle of the day or with a shade cloth.

Add a protective layer of mulch. Mulch will help retain moisture and keep the ground temperature stable during warm days. Certain types of mulch will also help suppress weeds and provide some nutrient back to the soil. Check out our blog post What is the best mulch for your garden to learn more.

Keep your soil nourished. Many vegetables grown during the warm season are nutrient hungry, so be sure to apply a layer of compost before planting and fertilise through the season so your plants can thrive. To learn more, check out our blog post How to Compost at Home for Beginners.

Watch out for pests. Don’t let pests destroy your hard-work. It’s always easier to manage pests early on than when they’ve taken over your crop. So make sure you’re checking regularly and taking appropriate action.

Posted on

Vegetables and Herbs to Grow in Winter

Vegetables and Herbs to Grow in Winter

One of the wonderful things about gardening in Australia is that you can keep many vegetables and herbs growing through the winter.  You’ll just need to consider your local climate in choosing what to grow and how to protect your plants from the cold.

Your Local Climate (and Microclimate)

There are many excellent websites out there that offer winter gardening suggestions by state and region. Others break down Australian planting zones in even more detail, considering specific heat zones, rainfall, and light levels. 

These are a great starting point, though conditions can vary significantly within a single climate zone due to altitude and other factors. Your garden might even grow differently than your neighbour’s!  This is because the placement and layout of each garden can create a unique microclimate. You can even control your garden’s microclimates to some degree.

So, we’re basing our suggestions on average temperatures and weather trends for warmer and cooler climate zones of Australia. Then, we’ve included special tips for each region to help you adapt to your own garden’s conditions. 

Winter Gardening in Warmer Regions

If you live in the temperate, subtropical, or tropical regions of Australia, many vegetables and herbs will still thrive in your garden during winter. You can even sow and plant in the winter months thanks to the warmer soil temperatures.  When nights drop below 10C, the warmer, sunnier days will keep soil temperatures high enough that your seedlings will survive. 

Here are just some of the many vegetables and herbs that should grow well for you in winter. 

Suggested Vegetables 

Suggested Herbs 

Other Tips for Warmer Regions

  • Don’t forget to water.  The dry season lasts from April to September, so keep an eye on your soil moisture. How much you should water will depend on rainfall, humidity, and what you’re growing.
  • Add a protective layer of mulch. Mulch will help retain moisture and keep the ground temperature stable during chilly nights.  
  • Plant in containers to conserve water.  This is especially helpful if you live in an inland area that gets much less rainfall. Either pots or above-ground planters for larger beds are great choices.
  • Keep your soil nourished. Hopefully in getting your garden ready for winter, you’ve fertilised and tilled your soil. If not, be sure to apply nutrients before planting to give your plants the best chance of surviving until spring.

Winter Gardening in Cooler Regions

If winter temperatures in your region are in the low to mid teens, sowing and planting will be riskier. With overnight temperatures dropping below 10C and soil temperatures hovering around 15C, new seedlings might struggle to make it to spring.  

Still, it’s safe to go ahead and lift, divide, and replant hardy perennials like asparagus, globe artichokes, horseradish, and rhubarb.  Beyond that, we recommend maintaining and harvesting vegetables and herbs that are still producing. The good news is that there are plenty of these if you’ve planned ahead:

Suggested Vegetables 

Suggested Herbs 

Other Tips for Cooler Climates

  • Maximise sunlight.  When planning your garden, choose a bed that gets a lot of sunlight to make up for the many grey days of winter.   
  • Add mulch for insulation.  This is especially important for winter gardens in colder regions. You’ll want the soil to retain as much warmth as possible.
  • Keep an eye on the forecast.  If there’s a cold snap or overnight frost expected, cover your plants to insulate them and protect them from frost damage. 
  • Bring sensitive plants inside.  Some gardeners prefer to bring their herbs inside during the winter.  Plant them in trays and place them near a window that gets great sunlight. 
  • Still eager to sow?  Plant some trays and keep them indoors until it’s time for spring planting.  Broad beans, onions, spinach, and silverbeet are great options for vegetables to start now. 

Experimenting with Microclimates

We encourage you to experiment! With each passing season, you’ll get to know what your garden is capable of better than anyone else.  

Look for those microclimates that already exist in your garden and work from there. If you live in a cold region but get excellent sunlight, for example, work toward improving insulation and protecting your gardens from wind. You may get some great seedling growth just in time for spring. 

Let us know what you’re growing this winter by leaving a comment below!

Posted on

Preparing Your Garden for Winter

Preparing Your Garden for Winter

Is your garden ready for winter? Although Australian winters can be fairly mild, there are still some things you can do to protect your plants during the colder months and set the stage for a beautiful spring. Our checklist will take you through each step of late autumn garden clean-up, from weeding and pruning to soil enrichment and tool maintenance.

Tidying Up

Clear out dead leaves and plants.  Not only will this keep your garden looking pleasant, it will keep it healthier. Rotting leaves and plants can attract pests, harbor disease, and grow mold and fungi.  

Weed your garden one last time.  It’s extra work, but you’ll be grateful in spring if you do a thorough weeding now.  While overall growth in your garden will slow, winter sometimes gives those hardy, invasive species a chance to take over.  

Prune, but don’t go overboard.  For now, just focus on removing dead, diseased, or damaged parts of plants and shrubs to keep them healthy.  Some plants, like roses, will benefit from a more substantial pruning to stimulate growth, but not until much closer to spring.  

Harvest finished compost.  If you’ve been composting all summer, you likely have a lot of finished compost in your pile.  Now is a great time to harvest some (or all) of this for use.  As you finish the clean-up steps above, add the leaves and plant materials to your pile to generate new compost during winter.

Putting Your Garden to Bed

Check for drainage issues.  Keep an eye out for pooling after a heavy rain or a soak with the garden hose.  Dealing with drainage issues now will prevent your garden from turning into a muddy mess during the winter months.

Enrich the soil.  Spread compost or manure evenly over the surface and till it until it’s well-combined with the soil.  This helps incorporate the nutrients, improve drainage, and keep oxygen levels up, so that the soil will be perfect for planting in spring.  

Add a protective layer of mulch.  Layering your soil with the right kind of mulch will prevent the rain from washing away all that enriched soil you’ve just prepared. It will also help the soil hold moisture and keep more even temperatures during the colder months.

Bring potted plants indoors.  This is a great way to keep herbs going through winter, but many folks bring in other sensitive plants, as well.  Ideally you should do this before it gets cool enough that the plants lose their leaves.

Maintaining and Storing your Tools

Remove all dirt and debris.  Give everything a thorough cleaning before it goes back into the shed.  You can use a coarse metal brush, like a grill brush, to tackle the worst of the grit.  Then wipe it down with oil to protect it from rust.

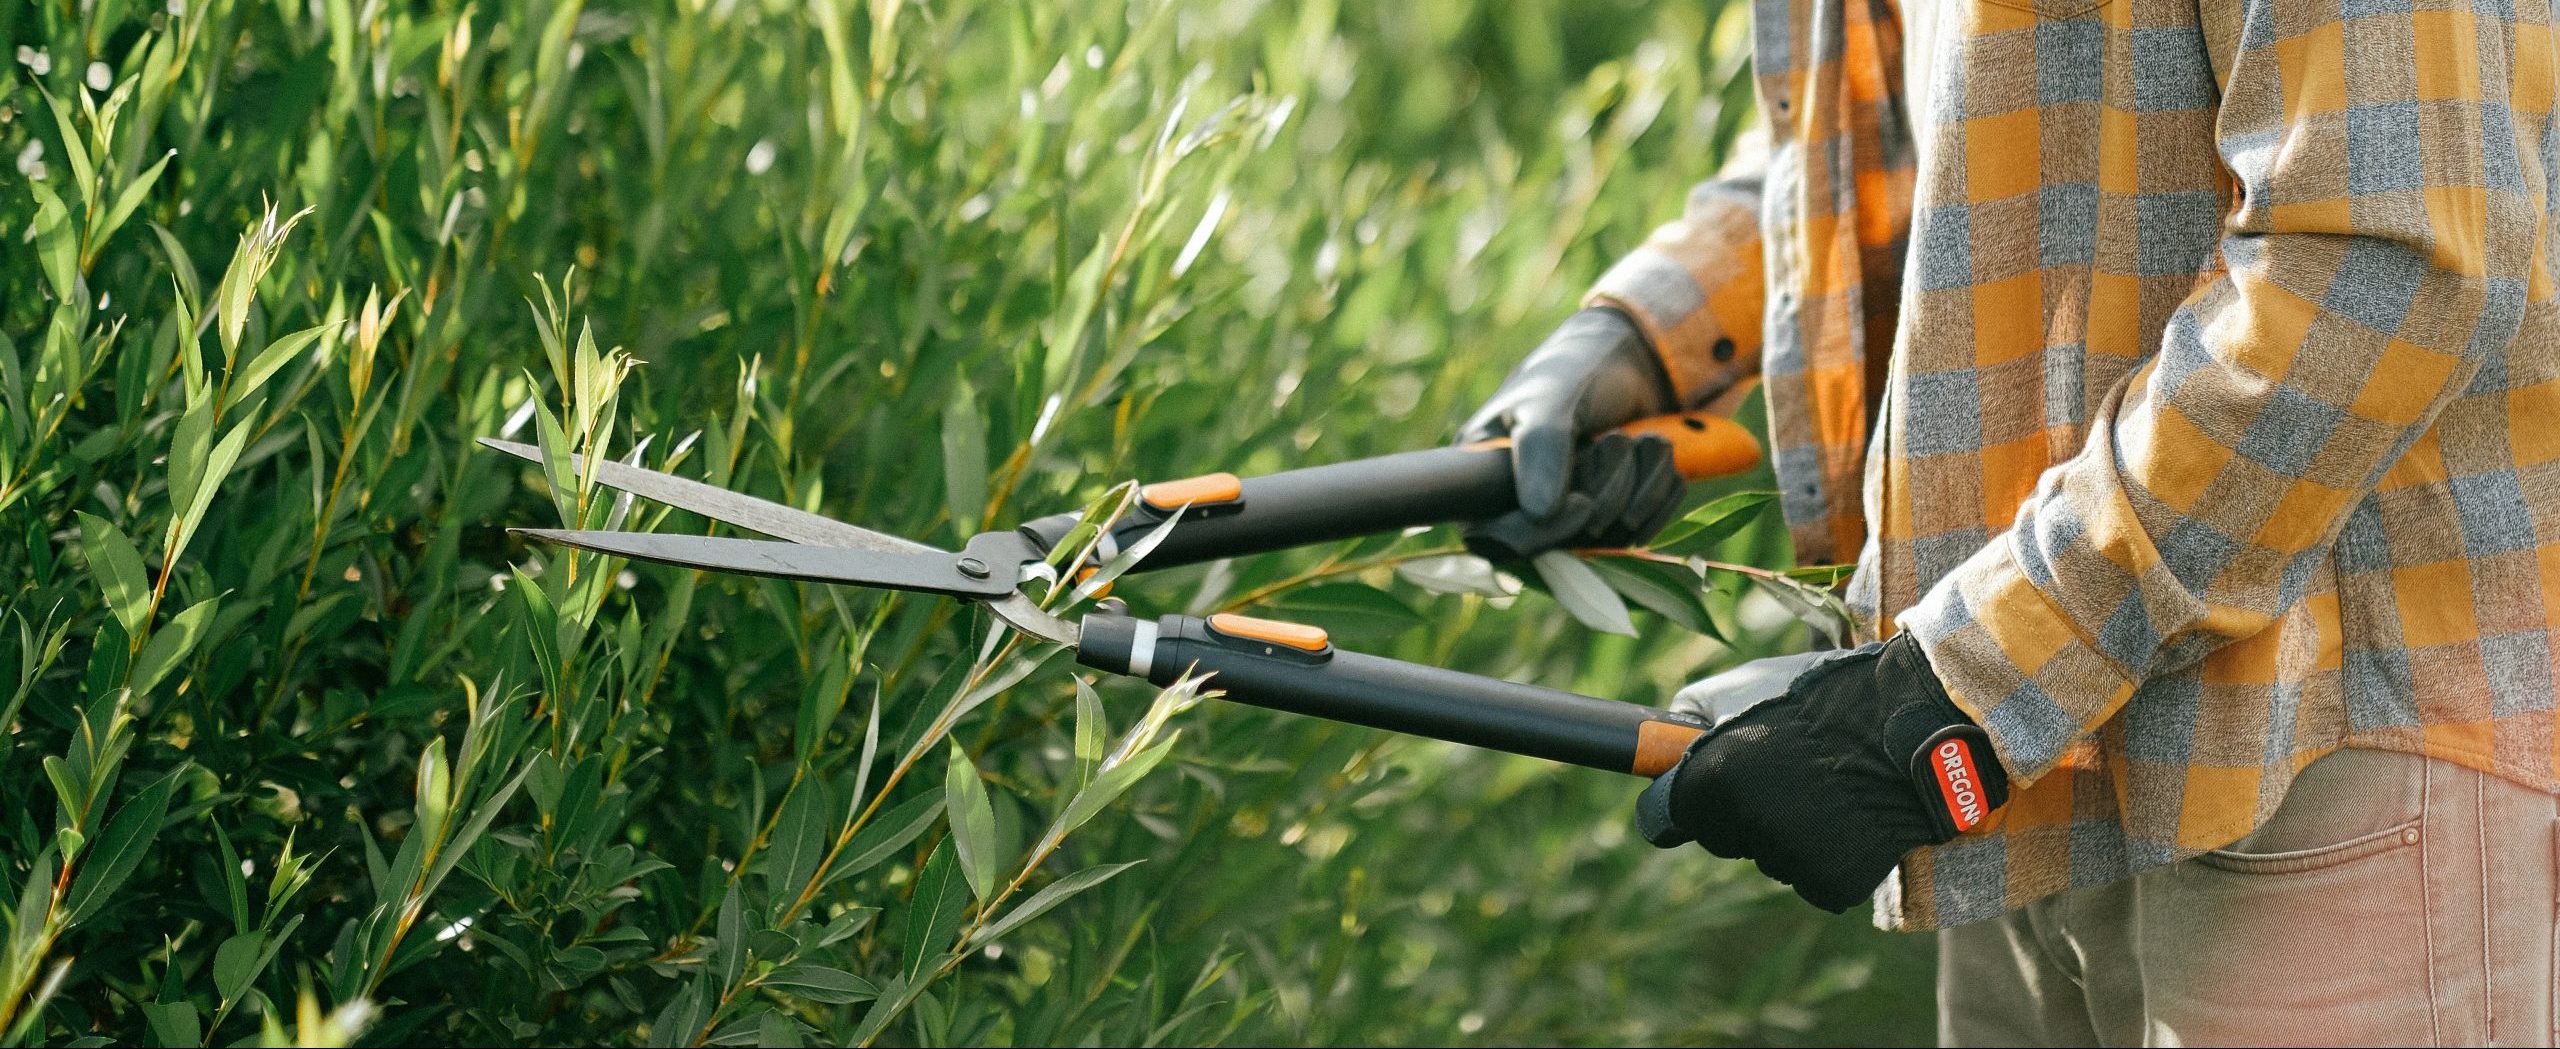
Sharpen and oil blades.  After cleaning, sharpen and oil any tools that have blades. Secateurs, saws, and even hoes will benefit from this. Ideally you’ve kept on top of this all year, but sometimes it’s hard to find time when gardening season is in full swing.  

Don’t forget the garden hose.  If you live in a place where temperatures stay above freezing, you can probably get away with leaving it out. Still, the hose will last much longer if you detach it, fully empty it, and store it.  

Thinking About Spring Already? 

It’s hard to resist, isn’t it?  We do the above steps with winter in mind, but they’re just as much about preparing for spring. It’s never too early to get out your notebook and start sketching out next season’s planting.  Browse our seed collection to see the latest arrivals and leave us a comment if you’d like to share your spring plans. We’d love to hear from you.

Posted on

How to enhance your garden soil with green manure

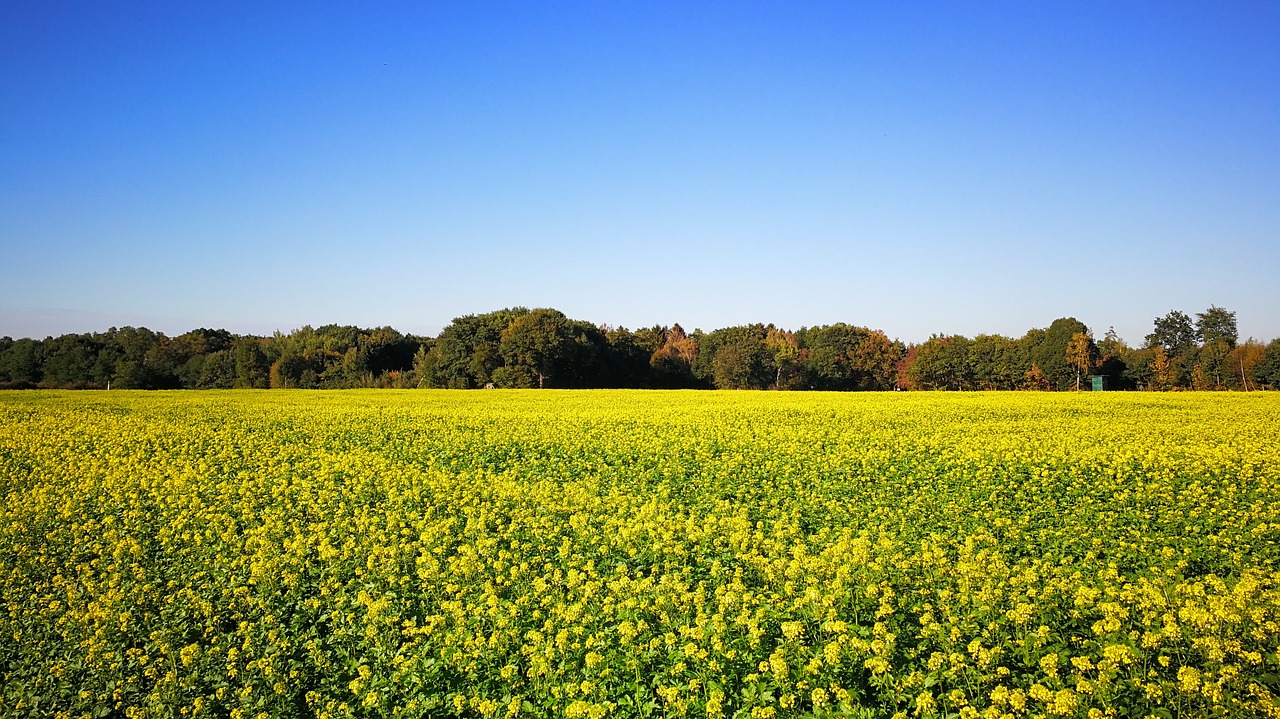
Yellow mustard green manure

Do you feel like your garden soil is in need of some TLC? Consider trying a green manure method to replenish, restore and protect your soil just in time for your next veggie growing season. This sustainable gardening method has its roots in ancient times (pardon the pun)  and is relevant to this day in keeping soil and plants healthy.

So, what is ‘green manure’ and how does it work? 

Green manure is a fast-growing crop of greens that is designed to be cut down and incorporated into the soil to improve soil fertility and optimise your next crop. Traditionally, a green manure crop includes a legume and cereal combination, however, you can select a single plant variety, catering to your soil needs and specific climate.

Benefits of Green Manure

  • Adds nutrients and organic matter to your soil – Legumes, including broad beans, fix nitrogen in the soil. This is important because plants require nitrogen in order to grow. Cutting down the green manure crop and incorporating it into the soil provides plenty of organic matter, improving the structure of your garden soil. 
  • Controls soil-borne pests and diseaseMustard greens are one example of a natural fumigation crop that helps to rebalance the soil microbiome. Let’s face it, everyone loves a balanced soil microbiome! When cut and worked into the soil these plants act as biofumigants, releasing natural compounds that are toxic to soilborne including root-knot nematodes and nasty fungal pathogens. 
  • Prevents soil erosion and supresses weeds – Growing a green manure is a great way to keep the weeds at bay. Fenugreek , a well-known herb commonly used in Indian cooking is a wonderful cover crop to use. It provides dense foliage, which prevents weeds from taking over your patch and protects the soil erosion from harsh weather conditions.
  • Retains nutrients and encourages soil aeration – Daikon radish is not only a tasty and versatile root vegetable but is also known for its ability to act as a soil aerator or ‘biodrill’. Its large tap root reduces soil compaction and absorbs and retains nutrients that may be lost when your patch is dormant. However, you’ll have to resist the urge to unearth this biodrilling beauty! When the radish root remains in the soil to decompose, the stored nutrients are released into the soil, allowing your next crop to benefit from its stored goodness.

How to create your own green manure

Green manure crops are generally planted in autumn or spring. Select the seed variety you wish to use, mix them together or use a single variety if preferred. Broadcast your seeds across your garden bed and lightly rake into your soil or cover with some compost. 

Germination requires moisture, so plant when rainfall is expected or water in well. Ideally, you’ll need at least 6-10 weeks to allow the crop to grow so the foliage is tender, depending on the plant varieties you choose. 

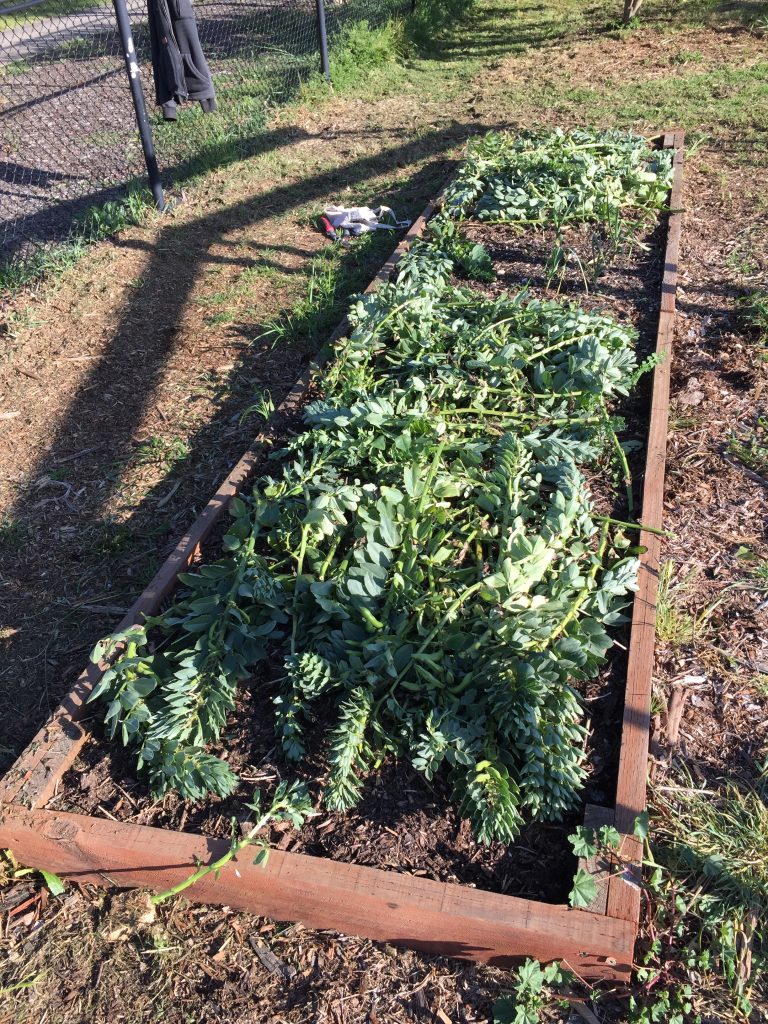
Broad beans slashed on top of the soil

To ensure the nitrogen remains ‘fixed’ in the soil, the crop needs to cut down before flowering occurs, as this process utilises nitrogen from the soil and diverts it to flower development. To harvest, cut down the crop and work it into the soil. Allow at least 4-6 weeks for the plant matter to decompose. Alternatively, you can leave some of the harvested green manure crop on top of the soil, doing this will provide some extra mulch for your future crop. 

To get green manuring, check out the varieties of seed available at Local Seeds!

Autumn/Winter Green Manure

These seeds can be used to create green manure during the autumn/winter periods

Springs/Summer Green Manure

These seeds can be used to create green manure during the spring/summer periods

Posted on

What is the best mulch for your garden?

what is the best mulch for gardens

As summer approaches it’s important to protect your garden soil from the heat. Mulching helps to reduce evaporation of moisture from the soil, keeping it cool. It also helps to suppress weed growth by blocking sunlight. Mulch can be made of many different materials, as long as it works for the purposes above-mentioned. Some types of mulches also have additional benefits, such as providing nutrients back to the soil as it decomposes and improving aesthetics of your garden.

Which mulch to use?

The best mulch for your garden will depend on what type of plant you are growing. Established plants can benefit from mulch that decomposes slowly, such as rocks and wood chips, providing protection and nutrients over longer periods of time. Vegetable gardens on the other hand will benefit from mulch that breaks down faster, such as hay or straw.

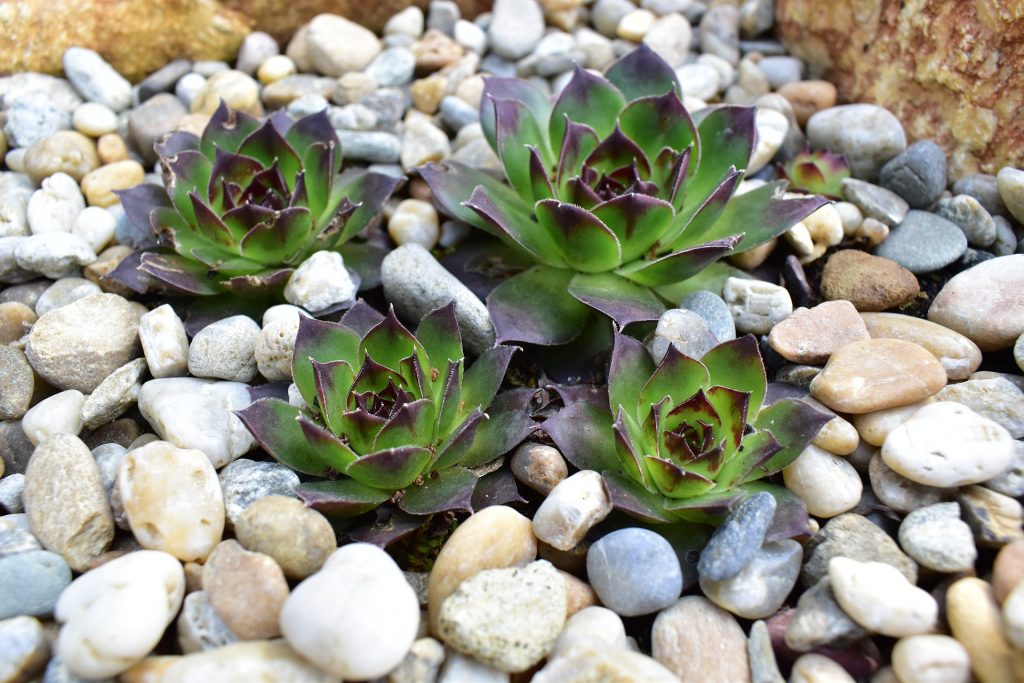
Rock mulch

rocks mulch

Rocks are great for a low maintenance garden, since you may never really need to replace them. For this reason they may have a higher initial cost, but should be cheaper in the long run. If you live in an area prone to bush fires, rocks can also help as they are nonflammable. Rocks will also help keep your garden tidy on windy days as they tend to be heavier than other types of mulch.

Rocks may not be a good choice for heat or drought sensitive plants as they actually absorb heat. They are also not a good choice for nutrient hungry plants as they provide negligible nutrients back to the soil.

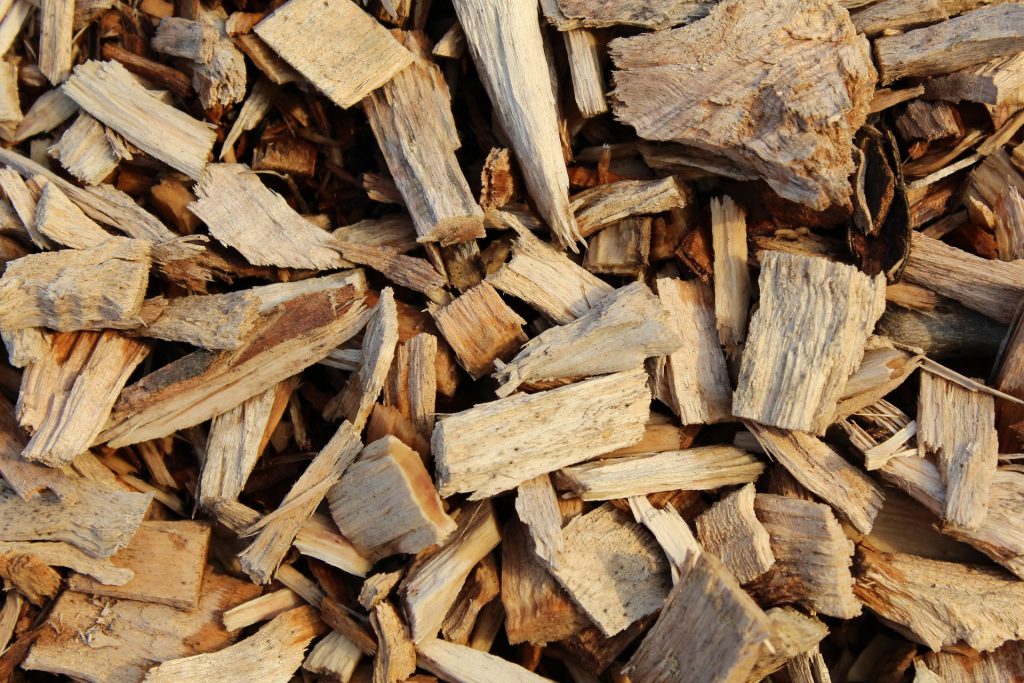
Wood chip mulch

wood chip mulch

Wood chips or bark are a great choice for most types of plants, including trees and shrubs. Wood chip mulch will help retain moisture in the soil and an even temperature. It’s also low maintenance since it decomposes slowly with the added benefit of releasing nutrients back into the soil. 

However, wood chip mulch is not a good choice for edible plants. Wood chip will not provide the nutrients vegetables and herbs need fast enough. Another problem is that as it decomposes it can make soil dominated by bacteria and fungi that may actually be harmful to edible plants.

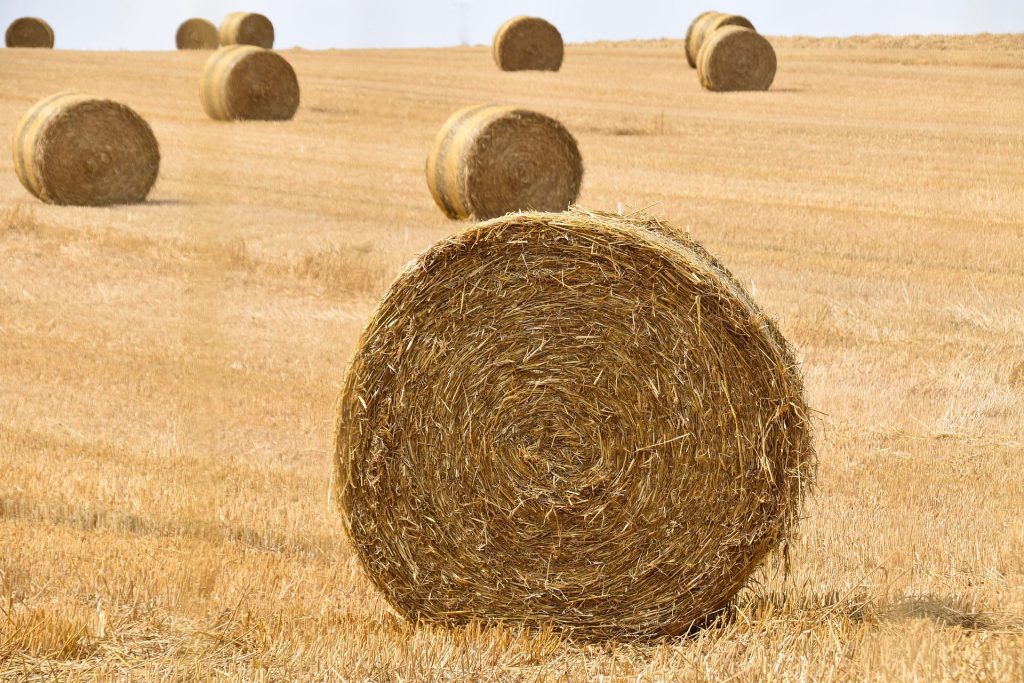
Hay or Straw mulch

hay or straw mulch

Hay or straw, such as lucerne, sugar cane, and pea straw are ideal for edible gardens. It helps to protect the soil from the heat and reduces moisture evaporation. It’s also nutrient rich and decomposes faster, helping your veggies grow. Lucerne and pea are especially rich in nitrogen, which is an essential nutrient for most veggies.

Because hay and straw decompose quicker than other types of mulch they may need to be re-applied regularly.

Other types of mulch

In addition to the common materials above, there are a few others you may be able to use as mulch and achieve similar benefits. Shredded paper or cardboard for example can also provide similar benefits to hay by protecting plants from heat, retaining moisture and suppressing weeds. However, it will likely not provide as much nutrient and won’t look as appealing as hay or straw. 

You can also use compost and garden waste, such as dried leaves, as another type of nutrient rich mulch. However, it may decompose even faster than hay and may not help to suppress weeds as well. 

How much mulch do I need?

A good rule of thumb for applying most types of mulch is to cover the soil with a 5 cm thick layer of mulch. But it’s important to keep it a few centimetres away from stems, otherwise it can cause the stem to rot.

The ideal time to apply mulch is during spring when temperature conditions are moderate, so it can help maintain that condition and protect plants from summer heat.

In summary

The best mulch for your garden will depend on the type of plants you are growing. If you have a low maintenance garden, with ornamental trees and shrubs, the best mulch will be one that decomposes slowly such as rocks, wood chips or bark. This will improve the appearance of your garden and keep weeds away. If you have edible plants, such as veggies and herbs, you should choose one that decomposes more quickly and is rich in nutrients, such as hay, straw or compost.