This is a guest article by a Local Seeds’ seed grower. Jenny from Seaford Seeds Vic shares her top tips for anyone looking to learn how to save tomato seeds for next year. Please reach out if you’d like to contribute your seed saving skills or knowledge to Local Seeds. 🌱
Have you ever bought a delicious punnet of tomatoes only to find a few squished and mouldy at the bottom? Well don’t throw them out! These could be the start of your tomato seed collection for the next season. And luckily for you the fermentation process has likely already begun!
The Science of Tomato Seeds
Tomato seeds in a tomato are encased in a little gel sac that contains enzymes to inhibit the seeds from sprouting. Otherwise we’d be cutting them open to find tiny plants and nobody needs that in the morning! This growth inhibitor ensures that the seed is properly preserved until the conditions arise for a successful germination and continuation of the species. ‘In the wild’ the tomato would fall from the vine and eventually break down and rot. This rotting process begins the fermentation needed for the gel sac to disintegrate and prepare the seed for germination the next spring.
Seems like that will take a long time to wait? Well, we can speed up that process by collecting the seeds in their sacs and initiating the process in a jar in your cupboard.
Get ready to save tomato seeds!
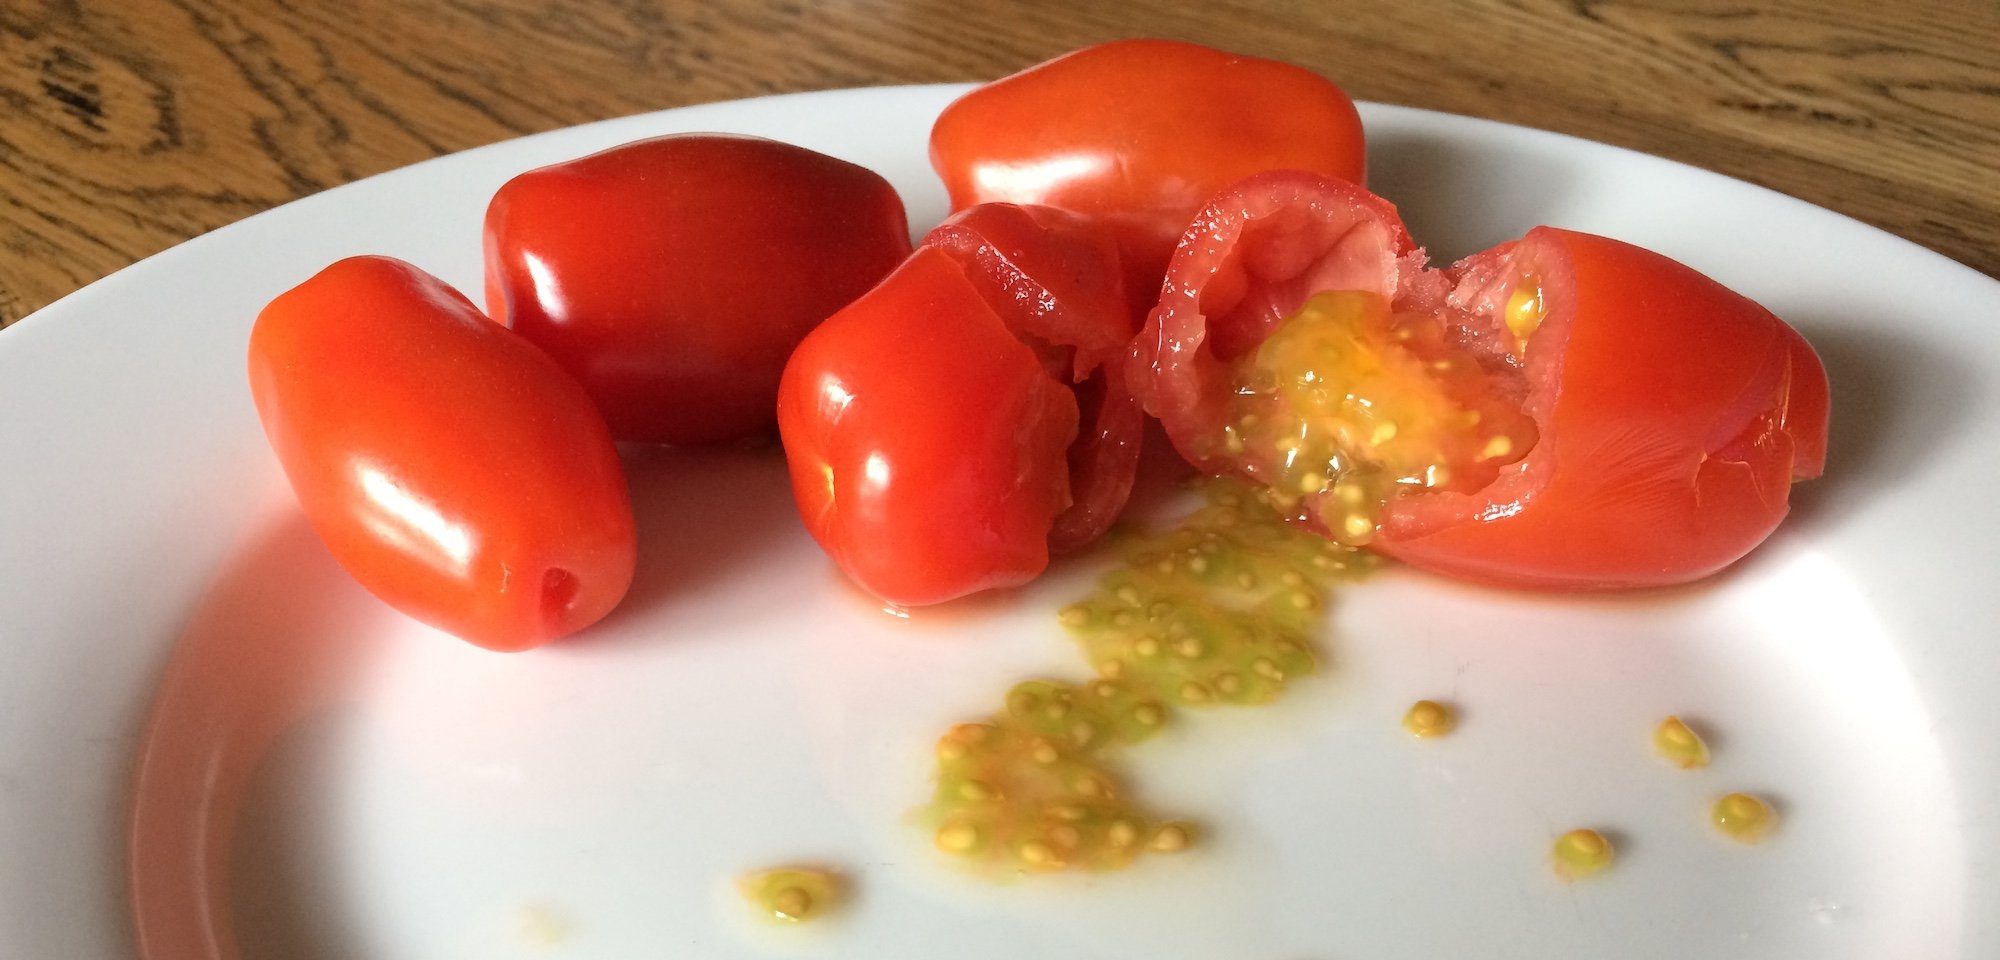
Remember those squishy tomatoes? Scoop them up and collect them in a jar. If they are mini tomatoes you can usually just keep the whole squished tomato. For bigger tomatoes it’s best to scoop out the seeds from the pith. Besides, that pith can go into the tomato passata you’re making!
If you are keeping fruit from a plant you have grown, ensure your plant is robust, strong, healthy and loves living in your backyard! Once you’ve chosen your prime target, look out for the good healthy fruit development and note the branch you want to harvest the seed from. Maybe tie a ribbon on it or write yourself a note in your garden diary.

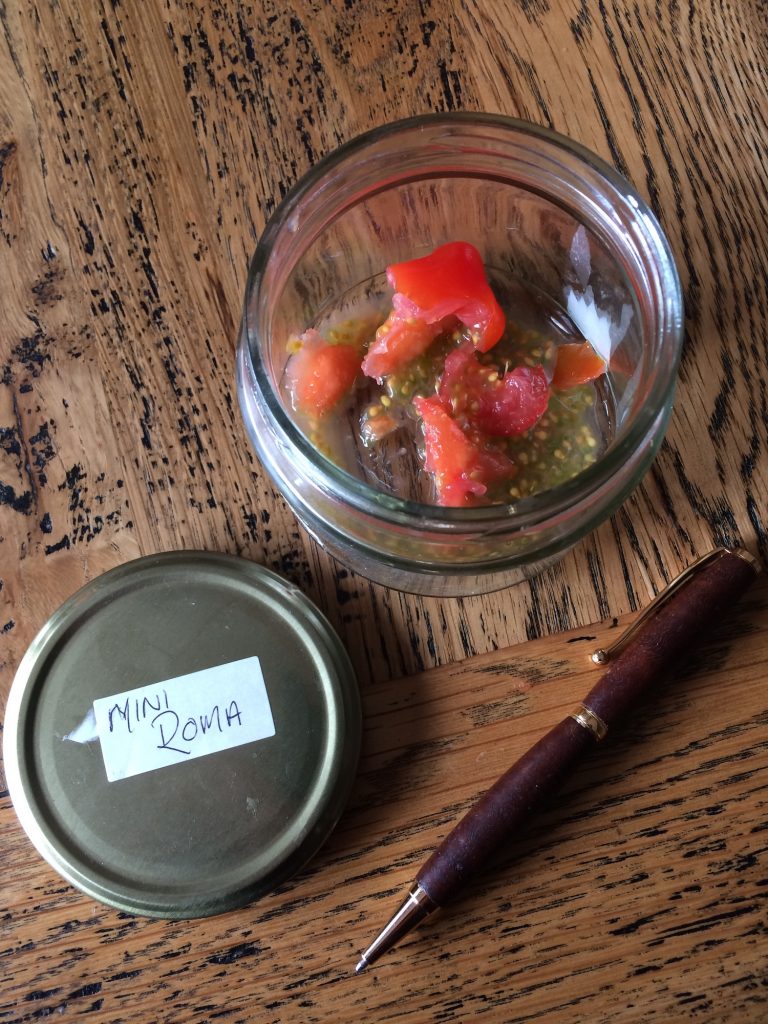
It always helps to label the jar! Try and ensure that the jar contains the same tomato variety if you’re going to save a lot, but if you fancy a mix of all your favourites then put them in together and wait for the surprise when the plants fruit! What starts out as red cherry tomatoes and red mini romas can become a bit indistinguishable after the fermentation starts!
Let’s assume you have collected your favourite delicious organic mini tomatoes, you might have bought these or grown them yourself from a bought plant, either way you will need to ensure that the tomato you choose is fully ripe!
Fermentation!

So you’ve found a clean jar and a warm but out of the way spot to set it out. If you’ve fermented anything before you will know that the process can get a bit smelly, so maybe best not to choose the airing cupboard with your nice clean sheets in! Pop in all the scooped out seeds or squished tomatoes and add in a bit of filtered or rain water to keep the mix a bit loose but not too watery.
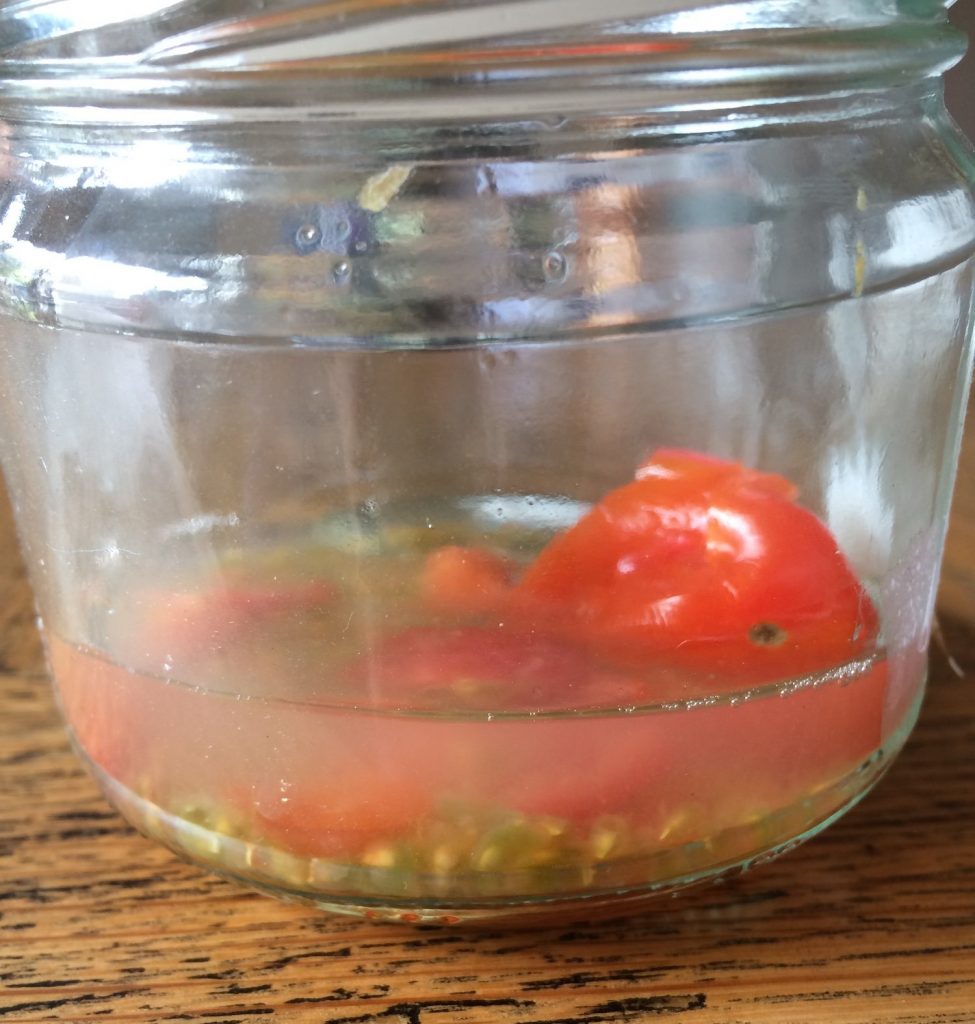
The water does slow down the fermentation process a bit, but it helps get the seeds to separate from the pulp, which comes into its own when you come to rinsing them! Ensure there are a good couple of inches from the top of the jar if you are putting a lid on your jar, otherwise covering with cloth or muslin is fine. With a lidded jar, gases will start building once you see the signs of mould and fermentation starting. Burp the jar every few days so it doesn’t overflow. Fermentation and mould formation can take up to a week, and the seeds can be left for up to two weeks, but it is best not to forget about them!
Getting the tomato seeds out
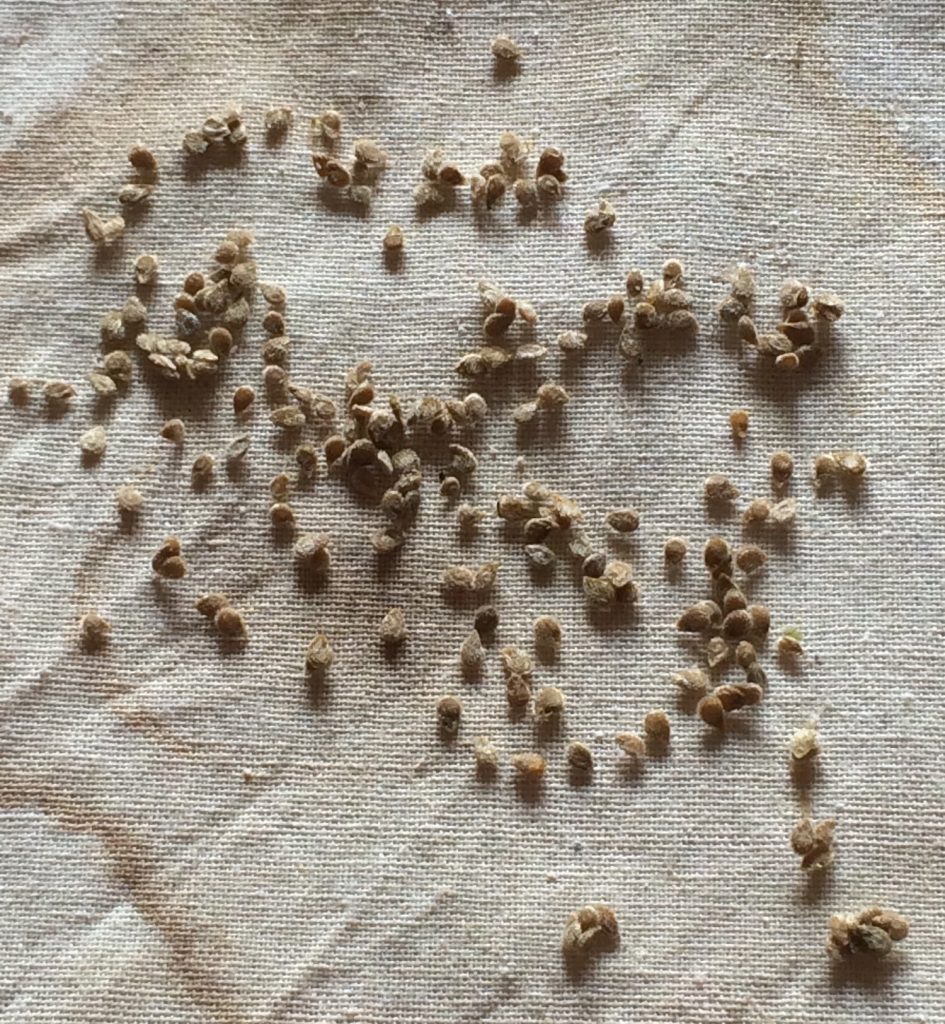
When the smell is awful and the mould has grown, give the jar a good shake (with the lid on!) and the seeds should collect at the bottom. Once they’re ready, open the jar over the sink and drain off the top layers. You can add more water here to flush out the good seeds, or better yet, tip it all into a bowl of water and give it a good stir around. Any seeds floating and not sinking won’t be viable so these can be tipped out with the mould and other goop. Flush the seeds with fresh water to get rid of any remaining bits of flesh and then set out on a clean cloth to dry fully. I use a folded piece of unbleached cotton, but any old linen tea towel will do. Just ensure it’s clean, and easy to see the seeds on! Paper towel is generally not recommended as the seeds may end up sticking as they dry out, which can be a pain later. Leave out of the sun but with good ventilation so that the seeds can dry out thoroughly.
Drying is Important!

Now they are out of the jar it’s important to label the drying group of seeds so you know which are which! You will notice now that the seeds have become slightly pitted and have lost their gel sacs. If they haven’t, then they aren’t ready yet, and can go back through the process, but certainly after two weeks they will be done!
Make sure the seeds are fully dried and separated from each other before you put them away for next season. There are lots of different methods of storage noted on the internet and you’re welcome to find one that works for you. Suffice to say that to ensure your seed stays healthy and viable for planting, keep it in a dry cool place, away from light, moisture sources and heat. I keep mine in a dark drawer, in envelopes or tackle box containers in a room that doesn’t get direct sunlight, so the temperature stays fairly constant.
If you don’t have the time, space or patience to save tomato seeds, visit my shop Seaford Seeds Vic at Local Seeds!
Happy Growing!
Jenny
